


NOTE: It is strongly suggested that facilitators who choose this method incorporate it into the whole project.
WHAT is it?
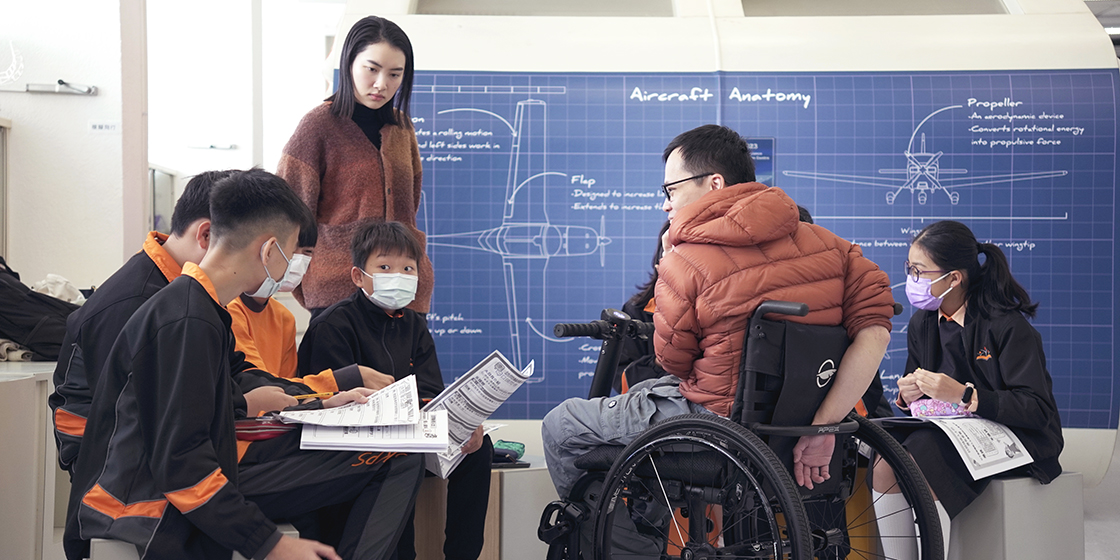
Students explore the needs of an extreme user to search for inclusive ideas. They are also encouraged to learn about the ingenuity of extreme users in devising creative hacks to meet their needs.
WHY teach it?
Instead of the typical design thinking practice of looking for inspiration, this task highlights the openings that inclusiveness creates for design. It also creates a situation in which students have authentic social interactions with people who are often marginalised by designers.
HOW to do it?
Preparation:
First, define the type of extreme users you want to have involved in the task. The extreme users can be anyone with very different needs or a different lifeworld to the students. Try to identify user types that
are currently neglected by design.
If the identified user type is from an under-privileged group, look for NGOs through which to make contact.
Meet the extreme users first to plan a tour that they can use to guide the students through their experience. According to the type of extreme user, prepare tools to help students empathise with their
experiences (e.g., wheelchairs, weights, blindfolding masks).
Instructions:
Arrange the students into groups of 5 and pair each group with an extreme user.
Observation
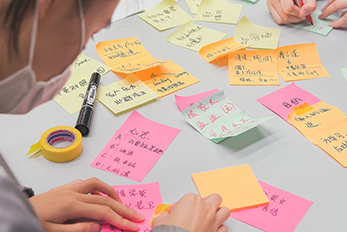
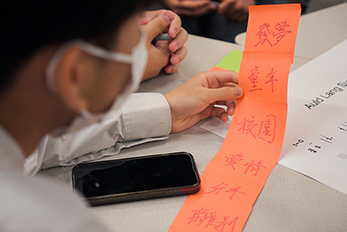
Ask the students to orgranise their thoughts by making use the framework sheet to take notes, facilitators could choose one of the suggested frameworks for the students
▸ Greeting and forming teams (20 mins)
Ask the students to team up with the extreme user, who they should get to know as a human being first without excessive focus on their ‘extremeness’.
Ask the students to name their teams.
Remind the students that this is a process of understanding and designing with, not designing for.
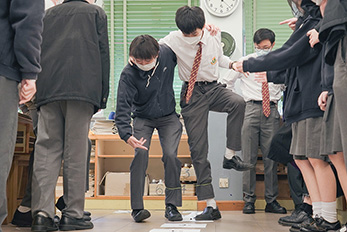
▸ The experience (60 mins)
Breaking into different teams, the students go on a guided tour led by the extreme users.
There is great flexibility in this tour; for example, if the invited users are in wheelchairs, the students could well travel on wheelchairs as well.
Ask the students to take photos to accompany the notes they take on the worksheet.
▸ Making a poster (30 mins)
After the tour, the team studies the record of their experience and chooses a single point of interest on which to make a poster for presenting.
The team should look for the need, the concurrent/creative solution of the extreme user and any openings/opportunities for design, but at this stage a solution is not necessary.
▸ Presentation and debriefing (20 mins)
During the presentations, help the teams better define the need/problem and hence set a better direction for a design solution.
Reference:
This session is developed with reference of the method by IDEO
http://www.designkit.org/methods/45